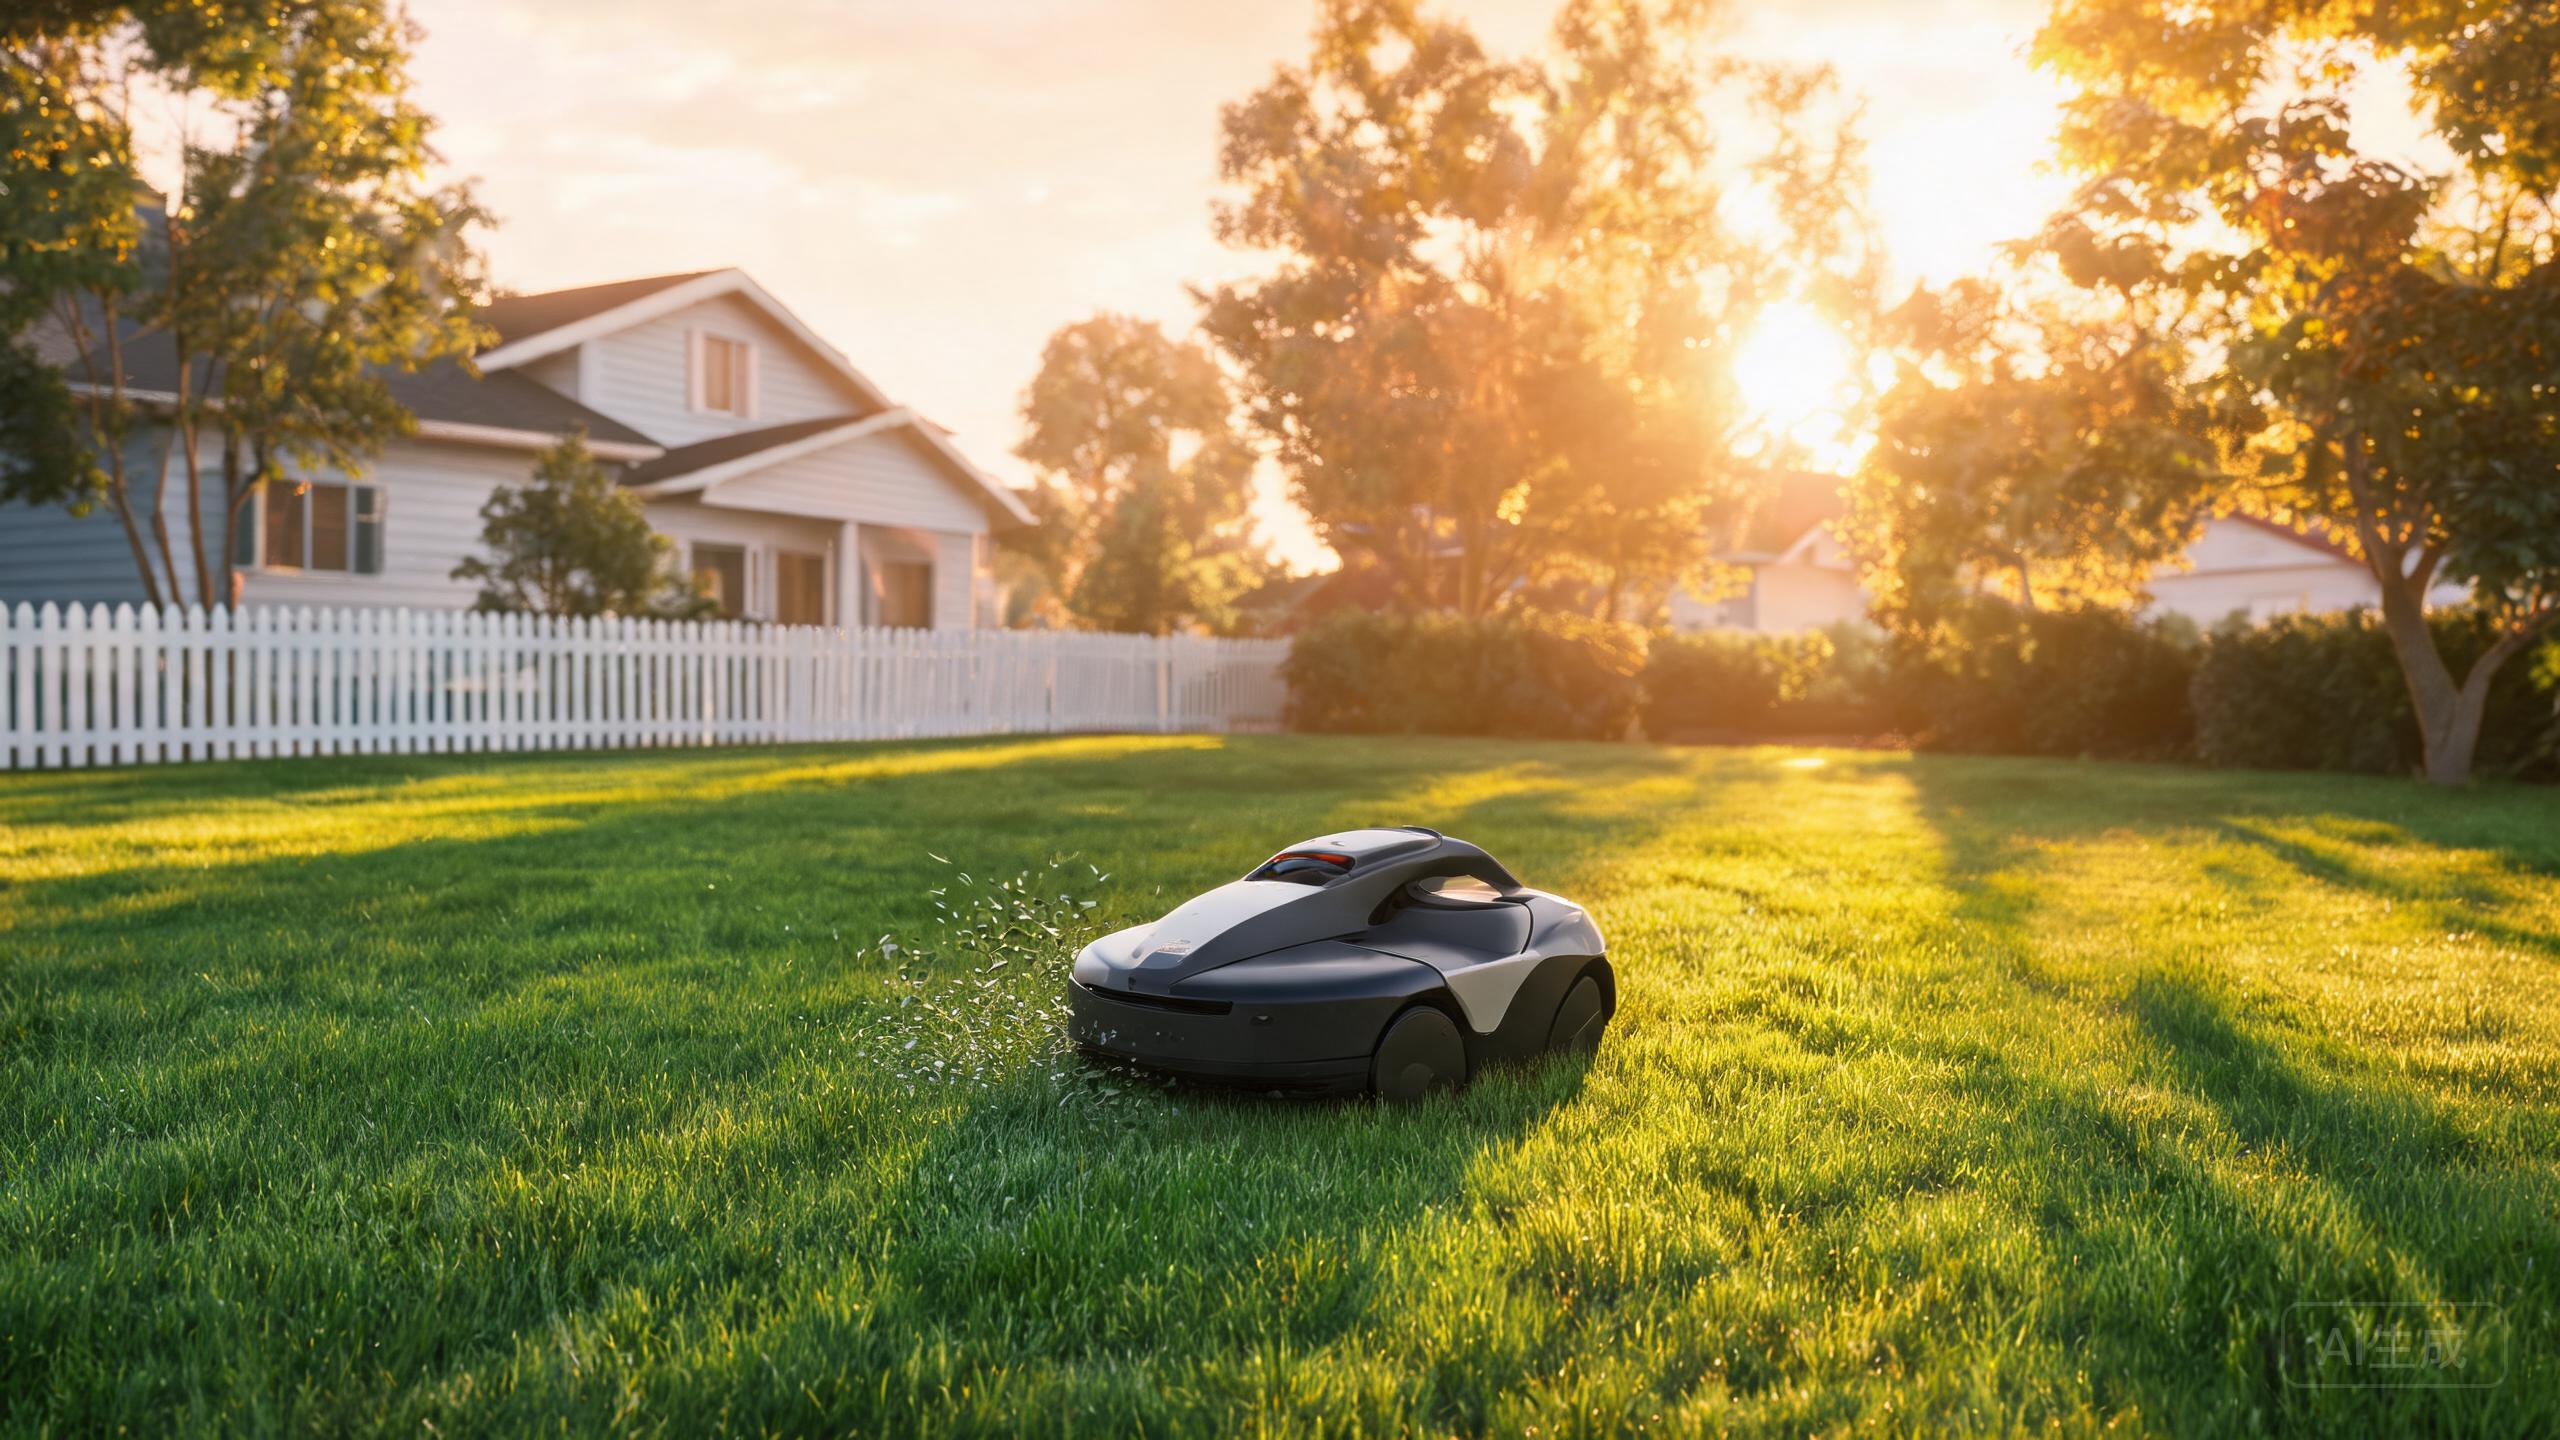
The Kress EyePilot RTKn KR250ES is a hybrid mower that pairs AI vision with RTK positioning across up to 500 m², and it adds IPX6 weatherproofing plus 4G anti-theft. This guide walks you through robotic lawn mower installation from box to first cut, so you can judge for yourself whether it earns a place among the best robotic lawn mower 2026 options for a compact, security-minded yard.
Step 1: Unbox, Charge and Pair the App
Set the carton on a flat surface and lift out the mower, charging station, power supply and any documentation. Inspect the blades and the housing for shipping damage before you power anything on. Place the mower on the charging station and let it reach a full charge; the KR250ES has a shorter battery than larger mowers, so a complete first charge matters. While it charges, install the Kress app, create an account and pair the mower over your home Wi-Fi. The app is also where the 4G anti-theft module is registered, so confirm the connection status shows as active before you move on.
Step 2: Site the Charging Station and RTK Reference
Pick a shaded, level spot near a power outlet and within reach of the mower's working area. The station should sit on firm ground, not soft soil that shifts after rain. Because this is an RTK vs GPS robotic mower design, the RTK reference needs a clear view of the sky; keep it away from dense tree canopies, metal sheds and tall walls that block satellite signals. Route the low-voltage cable so it cannot be clipped by the blades, and leave a short straight approach in front of the station so the mower docks cleanly. This is the part of robotic lawn mower installation where patience pays off.
Step 3: Map the Lawn with AI Vision and RTK
Open the app's mapping mode and drive or guide the mower around the boundary once. The AI vision camera and RTK positioning record the perimeter together, which is why this wireless robotic mower review angle matters: there is no boundary wire to bury. Mark out no-go zones around flower beds, ponds and young trees as you go. If your yard includes a bank, note that the KR250ES is not marketed as a robotic mower for steep slopes, so keep mapped zones to gentle gradients. Save the map, then let the mower run a short test pass to confirm the boundary lines sit where you intended.
Step 4: Set the Schedule and Run the First Mow
In the app, set a mowing schedule that fits your routine and choose a cutting height suited to the grass type. For a first run, watch the mower through one full cycle so you can spot any area the AI vision hesitates over. The 500 m² coverage figure is a ceiling rather than a target, so on a smaller lawn you can space sessions further apart. Confirm the IPX6 rating gives you confidence in light rain, but avoid sending it out in storms. If you are comparing this against the best robot mower for large lawn picks, remember the KR250ES is built for compact plots, not wide acreage.
Our verdict
Installing the Kress EyePilot RTKn KR250ES is a wire-free job: charge, pair, site the RTK reference, map with AI vision, then schedule. Expect an afternoon of setup and a few days of watching the first cycles before you trust it fully. For a 500 m² plot where security and weather resistance matter, this RTK 割草机器人-style hybrid is a sensible fit, provided your lawn stays within its coverage and gradient limits.